
Updated on: 2026-06-03
A paper like screen protector is designed to make screen viewing feel more natural for long sessions. It can reduce harsh glare and soften the visual contrast of a display. Many users prefer it for reading, writing, and note taking workflows. The best choice depends on your screen type, desired texture, and installation requirements.
Table of Contents
Introduction
Choosing a screen protector is not only about protection. It is also about how your screen looks and feels every day. A paper like screen protector aims to change the viewing experience by adding a textured surface that mimics the feel of writing or reading on paper. For many users, the goal is to reduce glare, improve comfort during long sessions, and create a more controlled visual appearance in bright rooms.
In practice, paper feel screen protectors are often used on tablets, laptops, and other devices where note taking, sketching, and reading matter. They may also help some users who dislike the sharp reflections that common glossy covers create. However, not every texture is the same, and installation quality can affect both appearance and durability.
This guide explains what to consider, how to install, and how to maintain a matte and paper-like finish. You will also find practical answers to common questions about sensitivity, clarity, and performance.
Step-by-Step Guide
Below is a clear process to select and apply a paper-like screen protector without unnecessary trial and error.
1) Choose the right fit and material type
Start with device compatibility. Confirm the protector is made for your exact screen size and model. A correct fit helps prevent lifting at edges and reduces the chance of trapped dust. Next, decide on the surface goal. Paper-like finishes are typically matte or semi-matte, with a texture intended to soften reflections and improve grip for a stylus. If you frequently use touch gestures, consider whether you want a smoother or more tactile surface.
If you want to explore options for devices beyond a single tablet, review relevant accessories on anti-glare screen protectors for compatible models and protection needs.
2) Prepare a clean workspace
Dust and fingerprints are the main causes of visible imperfections after installation. Choose a quiet space with low airflow. Use clean microfiber cloths and an appropriate screen cleaning solution designed for electronics. If your setup includes a dust-reduction method, follow the instructions provided with the protector.
For a stable desk environment, keep your hands dry and avoid placing paper or fabric near the screen area. These details reduce the chance of micro-particles landing on the adhesive.
3) Clean and inspect your screen
Clean the display thoroughly, then inspect it under bright but indirect light. Look for smudges, residue, or tiny particles along the perimeter. Even small debris can create lifting corners or cause bubbles to appear later.
Allow the screen to fully dry before proceeding. Any moisture under the film can cause uneven adhesion and blurred spots.
4) Align before you commit to full adhesion
Dry fitting helps you confirm the orientation. Many paper-like screen protectors include alignment marks or guide layers. Align the protector first, then activate adhesive coverage only when you are confident the edges are correct.
During alignment, focus on corner spacing. If one side sits higher than the other, adjust immediately. Once adhesive makes strong contact, repositioning can leave micro-dimples.

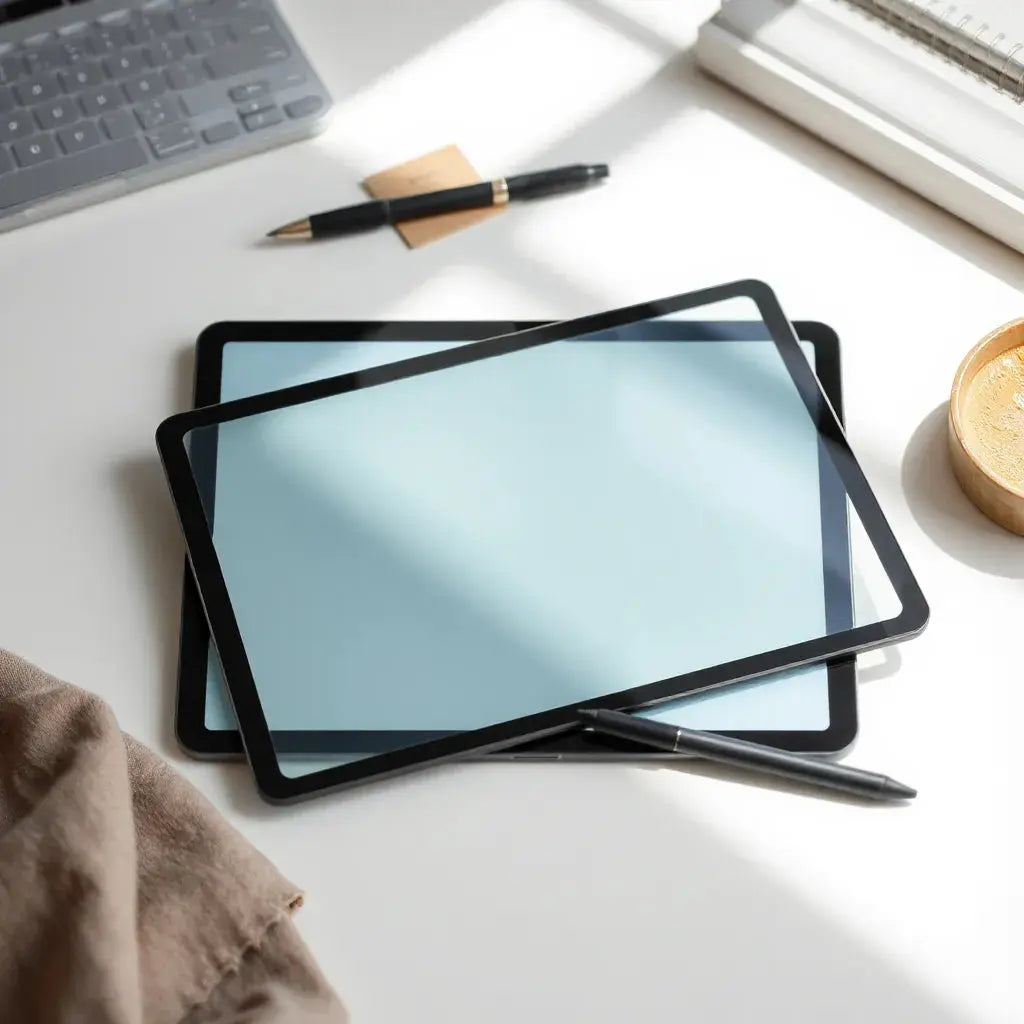
Diagram-style frame alignment and dust-free workspace symbols
5) Apply from center outward with controlled pressure
Use a clean application method that matches the included tools. Common best practice is to apply from the center outward, smoothing gently to push air to the edges. Avoid excessive force. Too much pressure can trap dust closer to the center or create stress lines.
If your protector includes a top layer that must be removed later, follow that sequence. Some people remove layers too early and lose helpful guidance for alignment.
6) Remove bubbles using safe techniques
Small micro-bubbles can clear over time, depending on film formulation and humidity. If bubbles remain after installation, use a safe approach: stop aggressive rubbing that could shift the film. Instead, try light smoothing along the shortest path toward the edge. For larger bubbles, consult the product instructions, as repair methods vary.
It is better to prevent bubbles than to chase them. A clean screen and correct alignment reduce 90 percent of common issues.
7) Perform a final edge check and initial care
After installation, inspect each corner and side. Gently check that the edges are fully seated. Leave the device for a short period if the protector instructions recommend it. Avoid using the screen aggressively on day one, especially for stylus pressure and heavy touch patterns.
Then test typical tasks: scrolling, tapping, reading, and writing. If the protector offers a paper feel surface, test stylus trails as well. The visual look can take a brief adjustment period, particularly if you are switching from glossy glass.
Tips
Use these expert tips to maximize performance and reduce common frustrations with a textured, matte, paper-like finish.
- Expect a visual shift: Matte and paper-like surfaces reduce glare, which may slightly change brightness and contrast. This is normal for many users.
- Match your stylus needs: If you write or draw, check how the texture affects line feedback. A paper feel surface can improve perceived control, but it can also change how your tip glides.
- Plan for cleaning discipline: Use soft, non-abrasive cloths. Avoid harsh chemicals that can cloud a matte film.
- Keep one backup workflow: If you rely on your device for work, allow extra time for installation and drying so you do not rush the process.
- Protect the rest of your setup: Pair your screen protector with proper device cases and sleeves to reduce scratches from daily handling. For example, you can review iPad covers and sleeve options that complement screen protection.
- Separate accessories from installation: If you also use keyboard covers or external devices, install the screen protector first. This avoids re-cleaning the display later.

Cross-section view of glare reduction and matte texture
Avoid these common mistakes
- Do not install in high dust areas: Even a clean screen can collect particles quickly.
- Do not over-wet the surface: Moisture can interfere with adhesion.
- Do not use abrasive cloths: Scratches on a film can spread and become more visible over time.
- Do not assume all protectors feel identical: Paper-like textures vary in roughness. Choose based on your comfort preference.
FAQs
Will a paper like screen protector reduce screen clarity?
It can reduce reflections and soften glare, which may slightly affect perceived contrast and brightness. Many users still find the display comfortable for reading and note taking, especially in bright environments. The exact outcome depends on the film texture, your display settings, and ambient lighting.
Does the textured surface change stylus performance?
Yes, it may. A paper-like finish can alter how the stylus tip glides and how the writing line feels. Some users experience better control and reduced slipping, while others prefer a smoother surface. Testing on typical strokes is the best way to evaluate compatibility with your workflow.
How long does a matte paper-like film typically last?
Longevity depends on cleaning habits, daily usage, and how your device is stored when not in use. Textured surfaces can show wear patterns if they encounter frequent friction. Correct installation and gentle maintenance typically support longer performance.
What should I do if bubbles appear after installation?
Small micro-bubbles may fade as the adhesive settles. If bubbles remain large or persistent, follow the product instructions for troubleshooting. Avoid aggressive pressing that can shift the film and worsen edge alignment.
Wrap-up & Final Thoughts
A paper like screen protector is a practical choice when you want a more comfortable, less reflective display experience. The main benefits are reduced glare, a softer visual presentation, and a texture that can feel closer to writing on paper. To get the best results, focus on correct model fit, a dust-controlled installation area, and gentle, center-out application.
After installation, test reading, touch, and stylus behavior with your normal routines. If you also improve device protection, consider pairing the film with a compatible case or sleeve for day-to-day durability, such as bags and sleeves for laptops and tablets.
Actionable next step: select a protector designed for your exact device model, install it carefully, then adjust your display settings if needed to match the new matte look.
About the Author Section
My name is Moarmouz, and I specialize in consumer technology accessories, screen protection systems, and installation best practices. I focus on helping customers choose products that match their viewing goals, work habits, and daily environments. Thank you for reading, and I welcome your feedback on what matters most in a paper-like screen experience.
Disclaimer: This article provides general guidance for selecting and installing screen protectors. Results can vary based on device model, screen coatings, environmental conditions, and handling practices. Always follow the product instructions and compatibility details provided by the manufacturer.
Share:
PaperType vs Tempered Glass: Which iPad Screen Protector Is Actually Right for You?
Shock-Resistant Laptop Sleeve: Fit and Protection Tips