On this page
A macbook screen protector is a practical way to help safeguard your display from scratches, dust, and daily wear. It can also reduce glare so you can work with less visual strain in bright environments. Choosing the right material, thickness, and installation style helps preserve touch sensitivity and clarity. With careful selection and proper setup, a screen protector can become a low-effort upgrade that keeps your MacBook looking and feeling dependable.
Table of Contents
Why a MacBook Display Needs Extra Protection
Your MacBook screen is designed to deliver sharp contrast and accurate color. However, it is also the most exposed surface in everyday use. Keys, dust, bags, and accidental contact can introduce micro-scratches that build over time. Even if the damage is not immediately visible, the cumulative effect can reduce perceived smoothness and clarity.
A macbook screen protector helps address these risks with a protective layer that absorbs wear. Many protectors are engineered to maintain touch response, preserve display sharpness, and offer improved viewing comfort. The goal is not to change how the screen looks in a dramatic way. The goal is to help prevent preventable wear so the MacBook display continues to perform as intended.
A Practical Experience With Screen Protection
Several months after switching to a more portable work routine, I began carrying my MacBook in a shoulder bag. On most days, the bag contained only essentials. Yet, one week into a busy cycle, I noticed faint marks that appeared when the screen brightness increased. The marks were subtle, but they changed how the display caught reflections.
I learned quickly that the most damaging particles are often the smallest ones. They can travel with dust, linger near seams, and press against the glass or coated surface when the device shifts. The difference after adding a screen protector was immediate. The same movement that previously produced visible wear became far less noticeable because the protector took the physical interaction.

Symbolic dust, glare, and scratch shields around a screen
Key Advantages of a MacBook Screen Protector
- Scratch and scuff resistance: A dedicated screen layer can reduce the impact of fine abrasion from keys, grit, and bag contact.
- Cleaner daily handling: Smudges and light residue can be easier to manage when a protective surface sits between your hands and the display.
- Better visibility in bright settings: Anti-glare and matte-style options can soften reflections during outdoor work or near strong indoor lighting.
- Support for privacy workflows: Privacy-oriented protectors can help limit side-angle viewing without blocking the content from directly in front of the screen.
- Maintained resale confidence: Keeping the display surface protected can help preserve the appearance of the device over time.
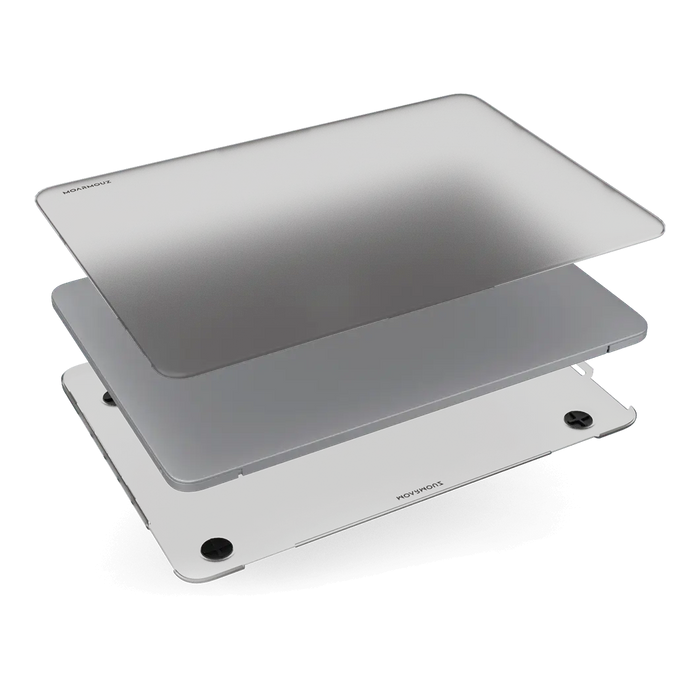
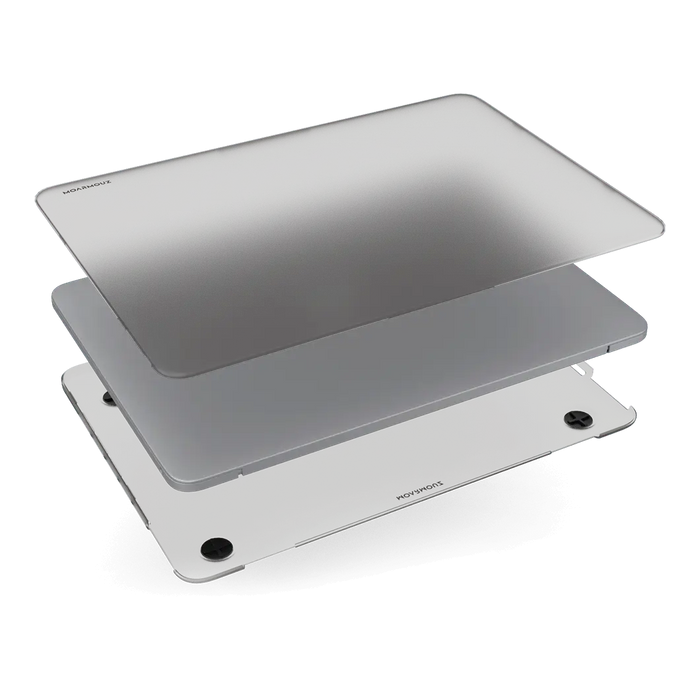
If you also manage device protection beyond the screen, consider pairing a screen protector with compatible accessories such as a laptop hardshell case. For example, you can browse MacBook hardshell cases to build a layered defense for travel.
What to Look for Before Buying
Not all macbook screen protector options behave the same way. The right choice depends on how you use your MacBook, where you work, and what you want to optimize: clarity, glare control, or privacy.
1) Match the model and screen size
Screen protectors are typically designed for specific MacBook sizes and generations. Confirm the exact dimensions and edge alignment. A protector that is slightly mis-sized can create gaps at the edges, which may reduce protection and complicate installation.
2) Choose the right surface finish
- Clear protective films: These prioritize crispness and keep reflections relatively close to the original glass behavior.
- Matte anti-glare protectors: These diffuse reflections and can help when working under overhead lights or near windows.
- Privacy screen protectors: These reduce off-axis visibility and can be helpful for public transit, shared offices, or coworking spaces.
3) Consider thickness and edge coverage
Thickness is not only about strength. It can also influence how the protector sits against the screen edges. Thicker options may offer robust protection but can sometimes feel more noticeable. Edge design and adhesive strategy are often more important than marketing thickness claims.
4) Evaluate installation method
Most users prefer a simple install that minimizes dust and alignment errors. Some models use adhesive layers, while others rely on static cling or precision-fit frames. If you are sensitive to bubbles or want repeatable placement, choose a protector whose installation process is well supported.
5) Think about cleaning compatibility
A good protector should tolerate regular cleaning with non-abrasive methods. Avoid harsh chemicals or abrasive cloths that could damage the protective layer. A protector that supports routine care helps your screen stay readable throughout the year.
For privacy-focused needs, you can review a dedicated option designed for MacBook Air models at privacy magnetic screen protector for MacBook Air. While specific product details vary by model, the selection criteria above remain the foundation for a good match.

Checklist icons for model fit, finish, and installation
How to Install a Screen Protector Cleanly
Installation quality directly affects performance. The best macbook screen protector cannot fully compensate for dust, misalignment, or poor adhesion. Use a calm, clean setup and follow a methodical approach.
Prepare your workspace
Choose a low-dust environment. Power off the MacBook and place it on a stable surface. Wash and dry your hands. Then gather a microfiber cloth and any included cleaning wipes or dust-removal tools that come with your protector.
Clean the display thoroughly
Remove fingerprints and light residue using the correct cleaning accessories. Do not use abrasive materials. If your protector kit includes a dust remover, use it before final placement. A small amount of dust under a protector can become more visible after the surface warms up.
Align before committing
Hold the protector at the correct orientation and check edge alignment. If your protector uses an adhesive layer, take your time with the initial positioning. Once it touches in the wrong position, re-seating can be difficult and may trap dust.
Apply using even pressure
Start near the center and move outward slowly. This reduces the risk of trapped air and helps the protector lie flat. If you notice a bubble, gently press from the inside toward the edge. Avoid aggressive force that can introduce misalignment.
Final check after settling
After installation, inspect for alignment and bubbles. Some protectors may require a brief settling period as the surface temperature stabilizes. If your kit provides guidance for curing or bonding, follow it for best results.
If you also want to protect the input area around the device, you can explore keyboard protectors. This helps reduce dust and minor wear while you type, which indirectly supports a cleaner overall device experience.
Quick Tips for Long-Term Results
- Use a microfiber cloth consistently: Regular gentle cleaning keeps the protector clear without abrasion.
- Apply pressure carefully: When wiping, avoid pressing too hard at the edges where adhesion can be more sensitive.
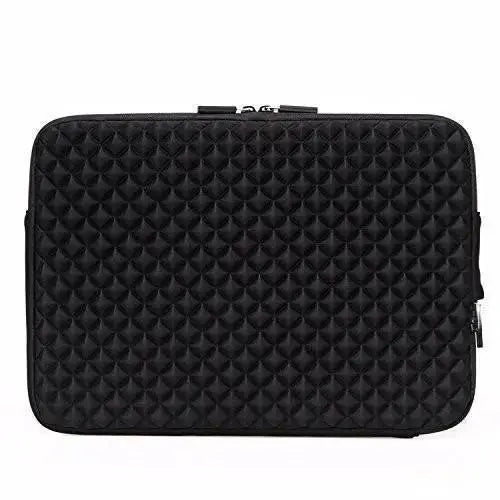
- Protect your device in transit: A sleeve or bag divider reduces point pressure on the screen and helps prevent edge lifting.
- Be mindful with pen use: If you annotate or draw, select a protector finish that is compatible with your workflow to maintain comfortable feel.
- Replace when damage occurs: If the protector is scratched deeply or begins to peel at the edges, replacement is usually the most effective path.
- Avoid harsh cleaners: Use non-abrasive, screen-safe cleaning practices to preserve the surface finish.
For users focused on glare and visibility, it can be helpful to compare finish types across options. If you prefer reduced reflections, consider exploring anti-glare screen protectors to align your purchase with your environment.
Summary and Next Steps
A macbook screen protector is a reliable, practical solution for maintaining display condition under real daily use. It can reduce micro-scratches, manage dust and fingerprints, and improve viewing comfort in brighter spaces. The best result comes from selecting a protector that matches your MacBook model, choosing the right finish for your priorities, and installing it with careful alignment and clean preparation.
Next, confirm your device size, decide between clear, anti-glare, or privacy finishes, and follow a careful install process. If you want a comprehensive protection strategy, pair your screen protector with complementary accessories such as a laptop case, keyboard protection, or a screen-friendly cleaning routine.
Q&A Section
Will a screen protector reduce image quality?
Many high-quality protectors are designed to preserve clarity. However, any additional layer can subtly affect contrast or reflections depending on the finish. Clear protectors typically maintain the original look more closely, while matte or anti-glare finishes can slightly change how blacks appear. The most accurate approach is to choose a finish aligned with your viewing needs and confirm compatibility with your MacBook model.
Are anti-glare protectors suitable for touch input?
Most anti-glare products are built to support touch and daily navigation. The key is selecting a protector that is engineered for smooth responsiveness rather than an overly textured surface. If you use touch-based gestures heavily, prioritize a protector known for maintaining a balanced surface feel while still reducing reflections.
How long does it typically take to install a screen protector?
Installation time varies based on experience and how clean the workspace is. A careful install usually takes longer than a rushed one, but it often reduces bubbles and misalignment. Preparing the environment, cleaning thoroughly, and aligning before applying pressure usually leads to more consistent results.
What is the best way to clean a protected MacBook screen?
Use a soft microfiber cloth and follow the cleaning guidance provided with your specific protector. Avoid abrasive materials, and do not rely on harsh chemicals. If the protector kit includes wipes or safe cleaning solutions, use them as directed. Gentle, consistent cleaning helps maintain clarity and reduces buildup that can make smudges more visible.
About the Author
Moarmouz is a specialist in device protection strategies and display care. With hands-on expertise in selecting protective materials and optimizing accessory fit, Moarmouz helps users choose practical solutions for everyday travel and work environments. The approach emphasizes compatibility, installation quality, and long-term maintenance. Thanks for reading, and I encourage you to protect your workflow with the right screen protection choices.