
Anti-reflection screen protectors reduce glare so your display stays clear in bright rooms and outdoors.
They also help cut down fingerprints and smudges, which supports everyday readability.
With the right fit and careful installation, they can improve viewing comfort while preserving screen clarity.
This guide explains benefits, selection factors, and best practices.
Updated on: 2026-04-26
{Table of Contents}- 1. What Anti-Reflection Screen Protectors Do
- 2. Key Benefits
- 3. Step-by-Step Guide
- 4. FAQ Section
- 5. Summary & Final Thoughts
- 6. About the Author
1. What Anti-Reflection Screen Protectors Do
Anti-reflection screen protectors are designed to reduce reflected light from your device screen. In practice, this means less visual washout when you are under strong indoor lighting, near windows, or outside. When glare drops, text and images often look more balanced and easier to read.
These protectors typically use a surface treatment that controls how light bounces back to your eyes. Some also combine anti-fingerprint properties to keep everyday marks from building up. The result is a display that feels more “natural” to view, particularly during long sessions such as reading, spreadsheets, and messaging.
Because screens include layers that manage touch and optical performance, the protector must remain compatible with your device. Choosing the right thickness, hardness rating, and clarity level matters. The goal is not to hide the screen, but to improve how it is experienced in real lighting.

Light rays reflect less; screen stays readable
2. Key Benefits
Improved readability in bright environments by reducing glare and reflections.
More comfortable viewing for extended use due to less eye strain from harsh light bounce.
Better everyday clarity because fewer surface smudges stand out.
Protective function that helps guard the screen from everyday scratches and abrasion.
Compatibility options for privacy and standard use, depending on the protector design.
If you already use a case or sleeve, an anti-reflective layer complements that protection. For example, pairing a screen protector with a well-fitted device cover can reduce both surface wear and accidental impacts during travel. If you want to upgrade the overall setup, consider exploring options such as anti-glare screen protectors from Moarmouz for a consistent viewing experience.
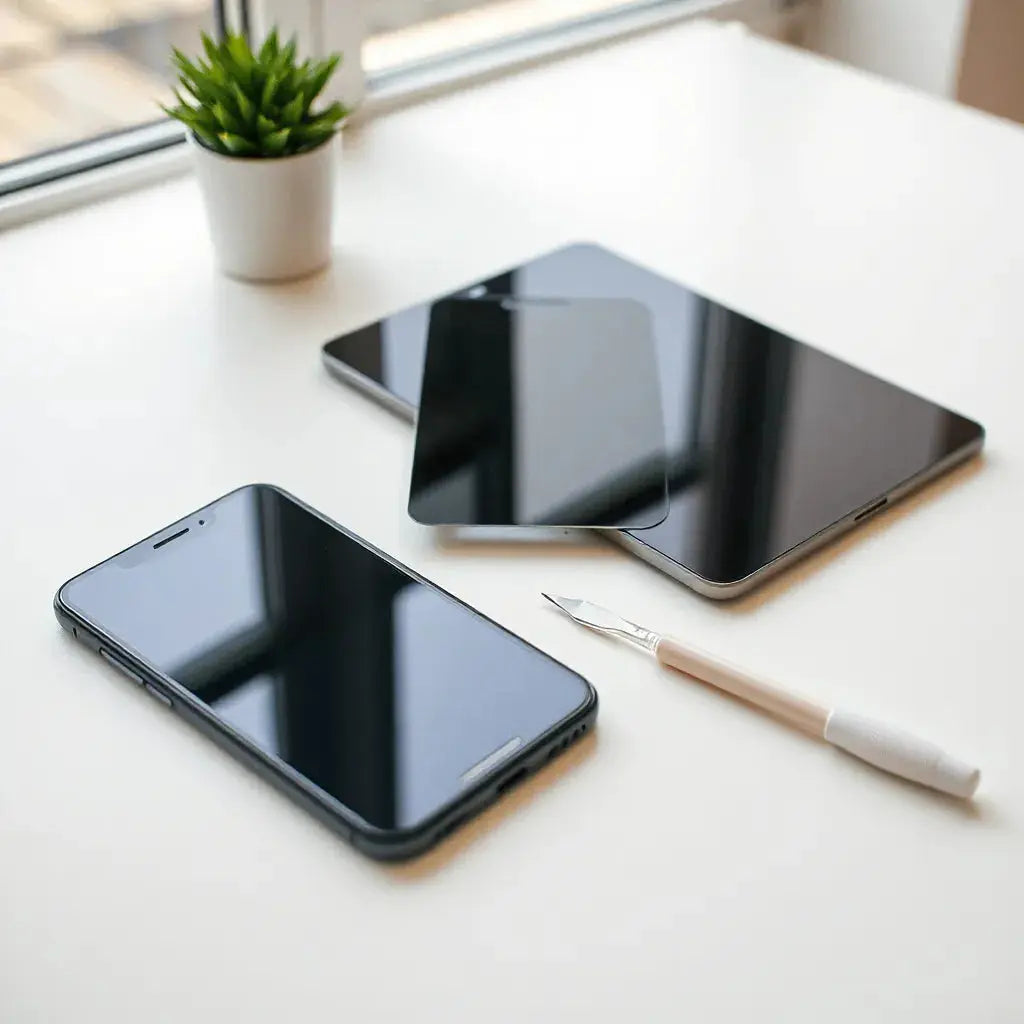
3. Step-by-Step Guide
Proper selection and installation determine whether an anti-reflection screen protector performs as intended. Follow the process below to maximize clarity, minimize bubbles, and maintain strong edge adhesion.
Choose the right anti-reflection screen protector
Start with device compatibility. Confirm the exact device model, screen size, and bezel layout. Many screen protectors differ even between close versions of the same brand. Next, evaluate optical and touch performance. Look for a design that supports high transparency while still controlling glare.
Consider surface hardness and scratch resistance for daily durability. Also check whether the protector includes an oleophobic or anti-fingerprint coating, since that influences how easily smudges wipe away. If you use privacy features, evaluate whether your viewing angles matter more than glare reduction.
For related device protection, you may also want a matching accessory approach, such as a case that supports edge coverage. For example, a strong pairing can be found at iPhone cases and keyboard protectors, depending on your workflow.
Prepare the work area and tools
Choose a clean, well-lit space with minimal dust. Wash your hands, then gather the included cleaning wipes, microfiber cloth, and alignment guide if it is provided. Turn off fans if possible to reduce airflow that can carry particles.
Before installation, inspect the screen for existing debris. Any dust trapped under the protector can create visible spots or cause lifting along edges over time. Use a gentle cleaning routine rather than aggressive wiping that may spread residue.
Clean and dry the screen thoroughly
Use the provided cleaning solution if available, and wipe with the microfiber cloth using light pressure. The surface should feel smooth and dry before you begin alignment. If the protector kit includes an alcohol wipe and a dust-removal sticker, use them in the intended order.
For best results, avoid touching the adhesive side. Finger contact can reduce adhesion and cause uneven placement. If the protector includes a removable liner, keep it in place until alignment is complete.
Align the protector carefully
Alignment is where most installation quality is determined. Position the protector by matching the top and side edges to the device frame. If the kit includes guide tabs, keep them stable. Lower the protector in a slow, controlled motion rather than dropping it into place.
Many anti-reflection screen protectors use an adhesion mechanism that allows minor repositioning. Even so, repeated repositioning can trap more particles. Once aligned, commit to the placement and proceed to edge smoothing.
Apply edges and remove bubbles
Start from the center and move outward with a soft smoothing tool or the edge of a microfiber cloth, depending on the kit instructions. Work slowly, pressing gently along edges. If you see small micro-bubbles, they often reduce after a period as the adhesive settles. Avoid excessive pressure that could stress the protector near corners.
Once smoothing is complete, recheck alignment and edge contact. If a corner lifts, gently lift that section and reapply using clean technique. Do not use sharp tools that could damage the screen.
Allow settling time and maintain clarity
After installation, keep the screen dry and avoid heavy pressure for a short settling period. Use only non-abrasive cleaning methods afterward. For daily cleaning, a microfiber cloth is usually sufficient. For smudges, use a gentle screen-safe cleaner and wipe lightly.
To preserve the anti-reflection performance, avoid rough paper towels and harsh solvents. Over time, surface coatings can wear if cleaning is too abrasive. Consistent, gentle care helps the glare reduction remain stable.
If you also use a laptop or tablet frequently, consider matching your protection strategy across devices. For instance, MacBook hardshell cases can reduce impact risk that might otherwise force you to replace screen protectors.

Step sequence: clean, align, smooth, then verify edges
4. FAQ Section
Does an anti-reflection screen protector reduce glare?
Yes. Anti-reflection screen protectors are designed to reduce reflected light from the screen. This typically improves readability under strong lighting and helps reduce the “washed out” appearance caused by glare.
Will touch and display clarity change after installation?
When you select a compatible protector with appropriate transparency and touch compatibility, changes should be minimal. Installation quality also affects perceived clarity. A properly applied protector should maintain smooth touch response and consistent viewing.
How do I clean an anti-reflection screen protector?
Use a microfiber cloth for routine cleaning. For marks, use a screen-safe solution applied lightly to the cloth, then wipe gently. Avoid abrasive materials and strong cleaners that can degrade optical coatings.
Is privacy necessary, or should I focus only on glare reduction?
Privacy is useful when you often work in public spaces, such as commuter areas or shared rooms. If your primary issue is visibility in bright conditions, glare reduction may be the more relevant feature. Some users prefer standard anti-reflective protectors for general use.
5. Summary & Final Thoughts
Anti-reflection screen protectors improve how a display looks in everyday lighting by reducing glare and reflections, which supports clearer reading and more comfortable viewing. The best outcomes come from selecting a correct fit, installing carefully, and maintaining gentle cleaning habits that protect the surface treatment. If you are building a complete screen-friendly setup, consider pairing an anti-reflective protector with device protection like cases and sleeves. For related options, review selections at anti-glare screen protectors and choose the level of optical performance that fits your daily environment. If you want to explore complementary lifestyle accessories, you can also visit Mixora.
Disclaimer: This article is for informational purposes only. Product compatibility, optical performance, and installation results vary by device model, lighting conditions, and user technique. Always follow the installation instructions provided with your specific screen protector.
6. About the Author
Moarmouz
Moarmouz is a content-focused team specializing in consumer device accessories, display protection strategies, and installation best practices. The brand aims to help customers make informed choices that balance clarity, durability, and daily usability. For readers seeking a practical, performance-oriented approach, Moarmouz supports clear guidance and product-aligned recommendations. Thank you for reading, and may your screen experience stay consistently clear.
Share:
Lightweight MacBook Sleeves: Comfort for Everyday Carry
Matte Finish Screen Protector: Pros and Buying Guide