





On this page
- Contents
- Product Spotlight
- Step-by-Step How-To
- Personal Experience
- Summary & Recommendations
- Q&A Section
- About the Author
Table of Contents
Product Spotlight: Better Surface Feel for Drawing
Sketching on tablets can feel surprisingly close to paper when your display surface supports pencil glide and accurate touch response. One practical upgrade is a textured anti-reflection screen protector designed for tablet sketching workflows. A proper surface can reduce glare, improve perceived contrast, and help the stylus behave more consistently during long sessions.
For creators who draw for hours, the “feel” of the glass matters. Smooth glass often increases sliding and can make line work less controlled. A texture layer can provide micro-grip, which helps many artists maintain stable strokes and repeatable shading patterns. Just as important, anti-reflection coatings can make it easier to see the lines you are building, especially in bright rooms or near windows.
Here is a focused option that aligns with those goals.

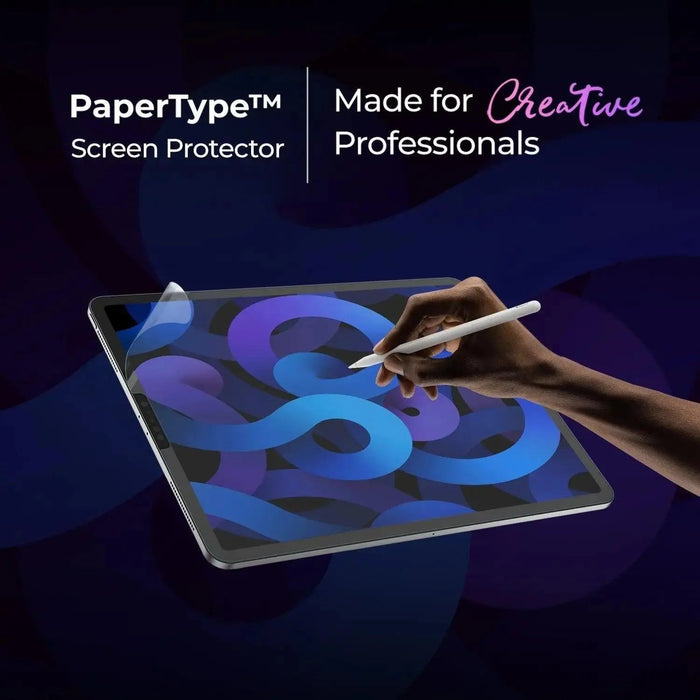
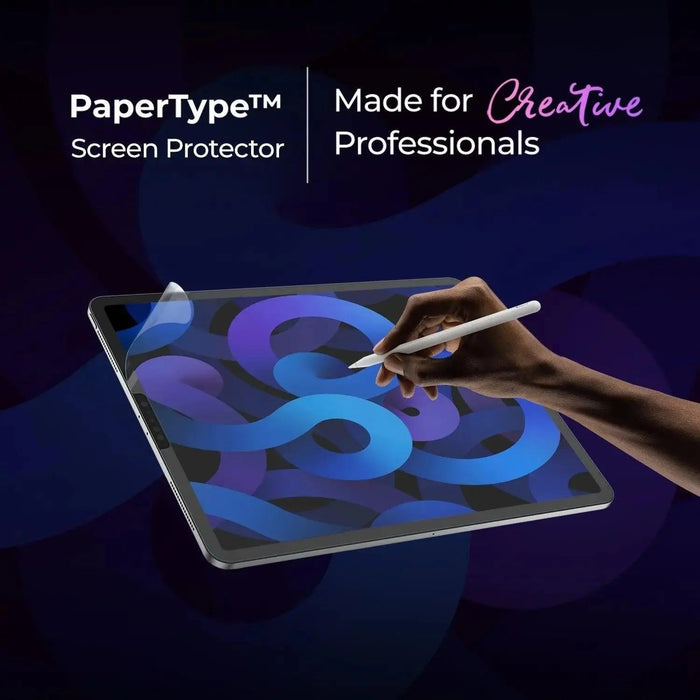
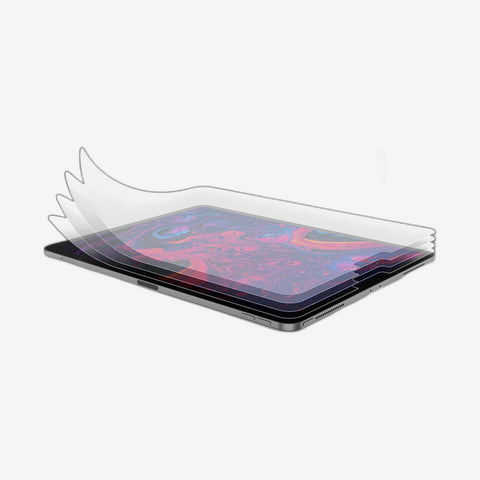
PaperType® Anti-reflection Texture Screen Protector for Galaxy Tabs
Choose this kind of protector when your priority is a more paper-like drawing experience, along with reduced screen glare. When paired with a compatible stylus and correct app settings, it can help you spend less time compensating for slip and more time developing confident lines.

Textured screen map: micro-grit, pencil glide, reduced glare
Step-by-Step How-To: Set Up Your Tablet for Confident Sketching
To get strong results with sketching on tablets, you need more than a good app. You need a repeatable setup that supports your stylus behavior, screen visibility, and workflow. Use the steps below as a practical checklist.
1) Match your stylus and app settings
Begin with the stylus you use most often. In your drawing application, check pressure sensitivity, line smoothing, and palm rejection. Fine-tune settings so thin lines remain legible and thicker strokes still show texture. If your lines feel “floaty,” reduce smoothing or adjust pressure curves. If they feel delayed, verify that palm rejection is on and that the app is updated.
2) Improve screen visibility with anti-reflection protection
Brightness, angle, and glare strongly affect how artists perceive stroke quality. Anti-reflection protectors can reduce distracting reflections that interfere with line inspection. This is especially useful when you sketch in natural light. Ensure the protector is properly aligned and firmly adhered so it does not create uneven response areas.
3) Calibrate your surface feel for control
Texture changes how the stylus slides. That effect is beneficial when you want steadier line work and more consistent shading. However, it can also reveal habits you may not notice on smooth screens. Spend a few minutes drawing controlled lines, then compare your results after changes. Look for stable endpoints, consistent pressure behavior, and reliable edges.
4) Use a simple warm-up routine
Before starting a finished piece, complete a five-minute warm-up. Draw short vertical and diagonal strokes, then practice circles of different sizes. This helps your hand adapt to the surface. It also reveals whether your pressure response feels natural. If circles wobble, adjust smoothing or pressure response, then try again.
5) Set up layers for sketching speed
Sketches often evolve. A clean layer plan prevents overwork. Start with a rough grid or gesture layer, then refine with a pencil-like stroke layer. Add a separate layer for shadow and another for final ink lines if your workflow supports it. Using layers also makes it easier to correct perspective and proportions without redrawing the entire page.
6) Adopt a consistent brush strategy
Brush choice determines both aesthetics and efficiency. Use a line brush for outlines, a shading brush for gradients, and a light eraser style that does not disrupt edges. If your tablet supports brush stabilization, keep it moderate. Over-stabilization can erase the natural character of your strokes.
7) Protect your device and your workflow
Physical protection supports long-term reliability. Consider tablet covers that minimize accidental scratches when you store and transport your device. Screen protectors are part of this plan, but cases and sleeves also matter. If you frequently sketch outdoors or commute, prioritize impact resistance and secure fit.
When you need accessories that support daily mobility, you can explore laptop and tablet sleeve options here: laptop and tablet sleeves.

Layers workflow: gesture, ink, shadow blocks, tidy undo map
Personal Experience: Why the Surface Changes Everything
I began using tablets for sketching because convenience was the biggest advantage. I could carry one device, switch apps, and keep every draft in a digital folder. At first, my work looked good, but the process felt uneven. Lines were slightly harder to control, and shading required more effort than I expected.
After I adjusted my setup, the biggest improvement came from how the screen surface behaved under the stylus. On a smooth display, my strokes slid too easily. That made long curves feel less stable. I compensated by slowing down, but that increased fatigue. When I tried a textured anti-reflection surface, the difference was immediate. My hand felt more grounded, and line weight became easier to manage. Even when I drew quickly, the stroke endpoints remained cleaner.
Another subtle benefit was visibility. Reduced glare made it easier to see early marks and correct them before details accumulated. When reflections decrease, you can stay focused on shape and form instead of fighting the screen. That shift matters for sketching on tablets because the early phase is where you set proportions and gesture flow.
From a workflow perspective, I also learned that good layer structure prevents “invisible” mistakes. When you are sketching digitally, it is tempting to keep everything on one layer. That habit increases friction when you need to refine. I now separate gesture, mid-tone shapes, and final lines. The result is faster iteration and fewer redraws.
Summary & Recommendations
Sketching on tablets becomes more reliable when your setup supports both visibility and stylus behavior. Surface feel is often the deciding factor: a textured anti-reflection screen protector can improve line control while reducing glare. Pair that with thoughtful app settings, a simple warm-up routine, and a consistent brush strategy, and your sketches will feel more predictable.
To apply what matters most, use these recommendations:
- Optimize stylus settings for pressure sensitivity and smoothing that matches your style.
- Use an anti-reflection protector to improve contrast and reduce distractions.
- Test texture feel with short strokes before starting longer studies.
- Sketch with layers that match your refinement process.
- Use protective accessories so your workspace remains stable and clean.
If you want additional screen clarity support, consider exploring anti-glare screen protectors on the following page: anti-glare options.
Q&A Section
Is sketching on tablets comparable to drawing on paper?
It can be very comparable in results, but the experience is different. Tablets excel at precision, undo flexibility, and easy revision. Paper often provides more natural tactile feedback, while a textured anti-reflection surface can bring the stylus feel closer to familiar tools. The best comparison comes from optimizing surface feel, stylus settings, and brush choices until your control feels consistent.
How do I reduce smudging or “slippery line” behavior?
First, verify palm rejection and ensure your stylus is clean. Then evaluate whether your current display surface is too smooth for your drawing style. Texture-based screen protectors can reduce sliding and improve line stability. Finally, adjust brush stabilization and smoothing. If your strokes drift, reduce stabilization or fine-tune the pressure curve to match your motion.
What should I do if my lines look inconsistent from sketch to sketch?
Inconsistent lines usually come from setup drift rather than skill. Check three areas: stylus pressure sensitivity settings, brush type, and layer structure. Warm up with short strokes each session so your hand adapts to the surface. Also confirm that your screen protector is aligned and free of bubbles or lifting, since uneven adhesion can affect responsiveness.
About the Author
Moarmouz
Moarmouz is an e-commerce and creative-tech specialist focused on tablet accessories, display protection, and workflow optimization for digital artists. Their expertise centers on helping creators choose practical components that improve accuracy, comfort, and long-term device care. With a research-driven approach, they translate technical specifications into clear purchasing decisions. Feel free to review the product recommendations and apply the setup checklist to your own sketching routine.
Disclaimer: This article is for informational purposes only. Results vary based on device model, stylus type, drawing app settings, and individual technique. Always follow manufacturer instructions for installation and device care.