



Updated on: 2026-05-27
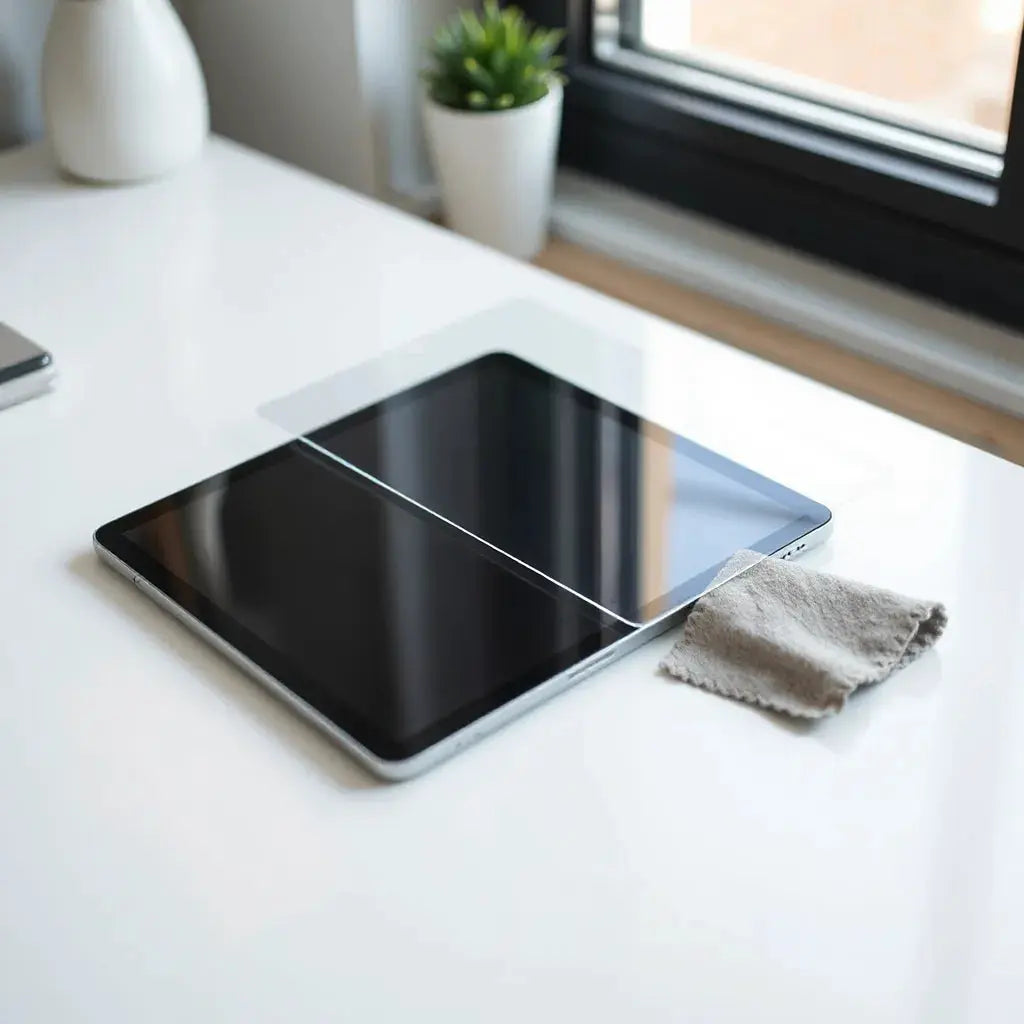
Choosing the right ipad screen protector improves daily durability and screen clarity. This guide explains how to match the protector to your iPad model, usage habits, and desired finish. You will also learn how to apply it correctly, reduce bubbles, and maintain long-term performance. Finally, the post covers common questions and practical next steps so you can decide with confidence.
What an ipad screen protector Does
Practical Guide: Choose, Apply, and Maintain
Key Advantages
Summary & Next Steps
Q&A Section
About the Author
What an ipad screen protector Does
An ipad screen protector is a thin layer designed to protect the display surface from everyday risks. These risks include fine scratches from keys or grit, smudges from fingerprints, and minor impacts from drops onto flat surfaces. A quality protector can also improve viewing comfort by reducing glare, especially under bright indoor lighting or near windows.
Because tablet screens are sensitive, the best choice depends on more than thickness. You should consider optical clarity, edge coverage, touch responsiveness, and the overall installation method. Some protectors are built for smooth texture and fast swiping, while others focus on anti-glare or privacy-style viewing. Understanding these differences helps you select a screen protector that matches how you use your iPad.

Layered protection concept with glare and smudge icons
Practical Guide: Choose, Apply, and Maintain
Step 1: Match Your iPad Model and Screen Size
Begin with your exact iPad model and screen dimensions. Screen protector fit varies by generation, camera placement, and display shape. A protector that is slightly misaligned can lift at the edges or interfere with cases. Before purchase, confirm that the product description specifies your device model and includes the correct cutouts.
If you also use a cover, check compatibility between the protector and your iPad cover. Many users pair a screen protector with an iPad cover that provides lip protection along the edges. This combination can reduce the chance that dust lands under the protector during use.
Step 2: Select the Right Material and Finish
Most users choose between standard clear protectors and specialized finishes. Clear options prioritize optical quality and preserve the natural look of the display. Anti-glare finishes can reduce reflections and make text easier to read. Privacy styles reduce visibility from side angles, which can be helpful in shared spaces.
For scratch resistance, many shoppers consider tempered glass protectors. For flexibility or easier placement, some sheet-based protectors can work well, but performance depends on quality. Pay attention to wording such as “scratch resistant,” “anti-glare,” or “privacy.” Use those terms to guide your decision, not marketing alone.
If glare is a major concern, you may also want to explore dedicated anti-glare screen protectors in your selection. For example, you can review options at anti-glare screen protectors to compare finish styles.
Step 3: Check Touch Sensitivity and Clarity
A good ipad screen protector should not create “lag” or reduce swipe accuracy. Touch sensitivity depends on the surface coating and the thickness profile. Clarity depends on optical coatings and how the protector handles light transmission and reflection.
When possible, choose listings that describe optical performance and edge design. Avoid protectors that promise high performance with no detail. In general, protectors that cover the active display area fully and maintain consistent brightness are easier to live with.
Step 4: Plan Installation for Bubble-Free Results
Installation quality has a major impact on the final look. Before applying, clean your screen thoroughly. Use a microfiber cloth and, if recommended by the product, an included cleaning wipe. Work in a low-dust area and avoid doing the install next to open windows with airflow.
Dry run the alignment if your protector includes a placement guide. If you have a protector with a positioning frame, follow that layout exactly. Press from the center outward to help the surface settle evenly.
For minor dust particles, do not repeatedly lift the entire sheet. Instead, address the specific area if the product method allows. Excessive re-lifting can cause micro-debris to spread and lead to poor adhesion.
Step 5: Maintain Cleanliness and Long-Term Adhesion
Routine cleaning matters. Use a soft microfiber cloth and avoid abrasive cleaners. If your protector has an anti-glare coating, cleaning should remain gentle to preserve the surface finish. Over time, small edge lifts can occur if dust enters the perimeter. If you notice lifting, remove the protector carefully and replace it to prevent further debris buildup.
To reduce the chance of edge exposure, consider the role of your case and cover. A well-fitted ipad cover can keep edges protected and reduce dust contact during daily transport. You can browse an example selection at iPad covers to match form factor and protection style.

Clean install steps with dust-free workspace and alignment frame
Key Advantages
- Scratch and scuff reduction: A durable surface can help prevent everyday marks from keys, coins, and small debris.
- Improved comfort in bright environments: Anti-glare finishes can reduce reflections that make reading and editing harder.
- Smudge control and easier cleaning: Many protectors are designed to resist fingerprints and reduce visible smearing.
- Better resale value: Protecting the display surface helps keep the iPad looking fresh over time.
- Compatibility with accessories: When paired with a quality cover, protectors can integrate with daily carry and reduce edge stress.
- Enhanced privacy options: Some protector styles reduce side visibility for work and travel use.
To further support screen protection, accessory pairing is often effective. For example, a case with a secure closure can limit accidental screen contact during travel. If you also manage desk organization for your tablet setup, consider complementary accessories such as storage or cable organization options from cables to keep your workspace tidy.
Summary & Next Steps
Selecting an ipad screen protector is primarily about fit, finish, and installation quality. Start by confirming your iPad model and choosing a surface type aligned with your priorities, such as clarity, anti-glare comfort, or privacy. Then plan a careful installation and maintain the surface with gentle cleaning to extend performance.
Next steps: decide on your preferred finish, verify case compatibility, and install in a low-dust environment for a clean final result. If you want to compare finish styles quickly, review anti-glare options and iPad cover compatibility on the store site.
For users who manage multiple devices, it can also be useful to maintain a consistent protection routine. For example, a separate protective approach for a laptop or smartwatch can help keep all screens in stable condition.
If you want to explore an accessory ecosystem beyond iPad protection, you may also visit Padelstore24 for unrelated gear options that may support active lifestyles.
Q&A Section
Do I need a screen protector for my iPad?
A screen protector is not mandatory, but it provides practical protection against common daily risks such as scratches from small particles and smudges from fingerprints. If you regularly carry your iPad in a bag or use it in shared environments, a protector can reduce visible wear and help maintain the display surface.
Is tempered glass or a film-style protector better?
Tempered glass protectors are commonly chosen for scratch resistance and a rigid feel. Film-style options can be thinner and may integrate well with certain cases, but performance depends heavily on material quality and surface coatings. The best choice is the one that matches your priorities for clarity, comfort, and protection level.
How can I avoid bubbles during installation?
You can minimize bubbles by cleaning the screen thoroughly, installing in a low-dust area, and aligning the protector before full contact. Pressing from the center outward helps the adhesive or settling layer distribute evenly. If dust appears, address the affected area carefully rather than repeatedly lifting the entire protector.
Will my iPad case damage the edges of the protector?
A compatible case can protect the edges, but an ill-fitting case can apply pressure and cause premature edge lifting. Confirm that the protector allows adequate edge clearance and that your case design does not force contact against the protector perimeter. When in doubt, select a protector and cover that are designed to work together.
About the Author
Moarmouz is a technology accessories specialist focused on screen protection strategy, accessory fit, and product selection guidance for everyday device use. The professional background includes long-term experience in consumer electronics accessory evaluation and quality-first merchandising. The aim is to help readers make practical decisions based on clarity, durability, and compatibility. Thank you for reading, and choose protection that matches your device habits with confidence.
Disclaimer: This article provides general guidance for selecting and installing an ipad screen protector. Always follow the specific instructions provided by the product manufacturer. Product performance varies by environment, usage, and installation method.
Share:
MacBook Protection Case Guide for Everyday Safety
MacBook Case Buying Guide for Everyday Protection